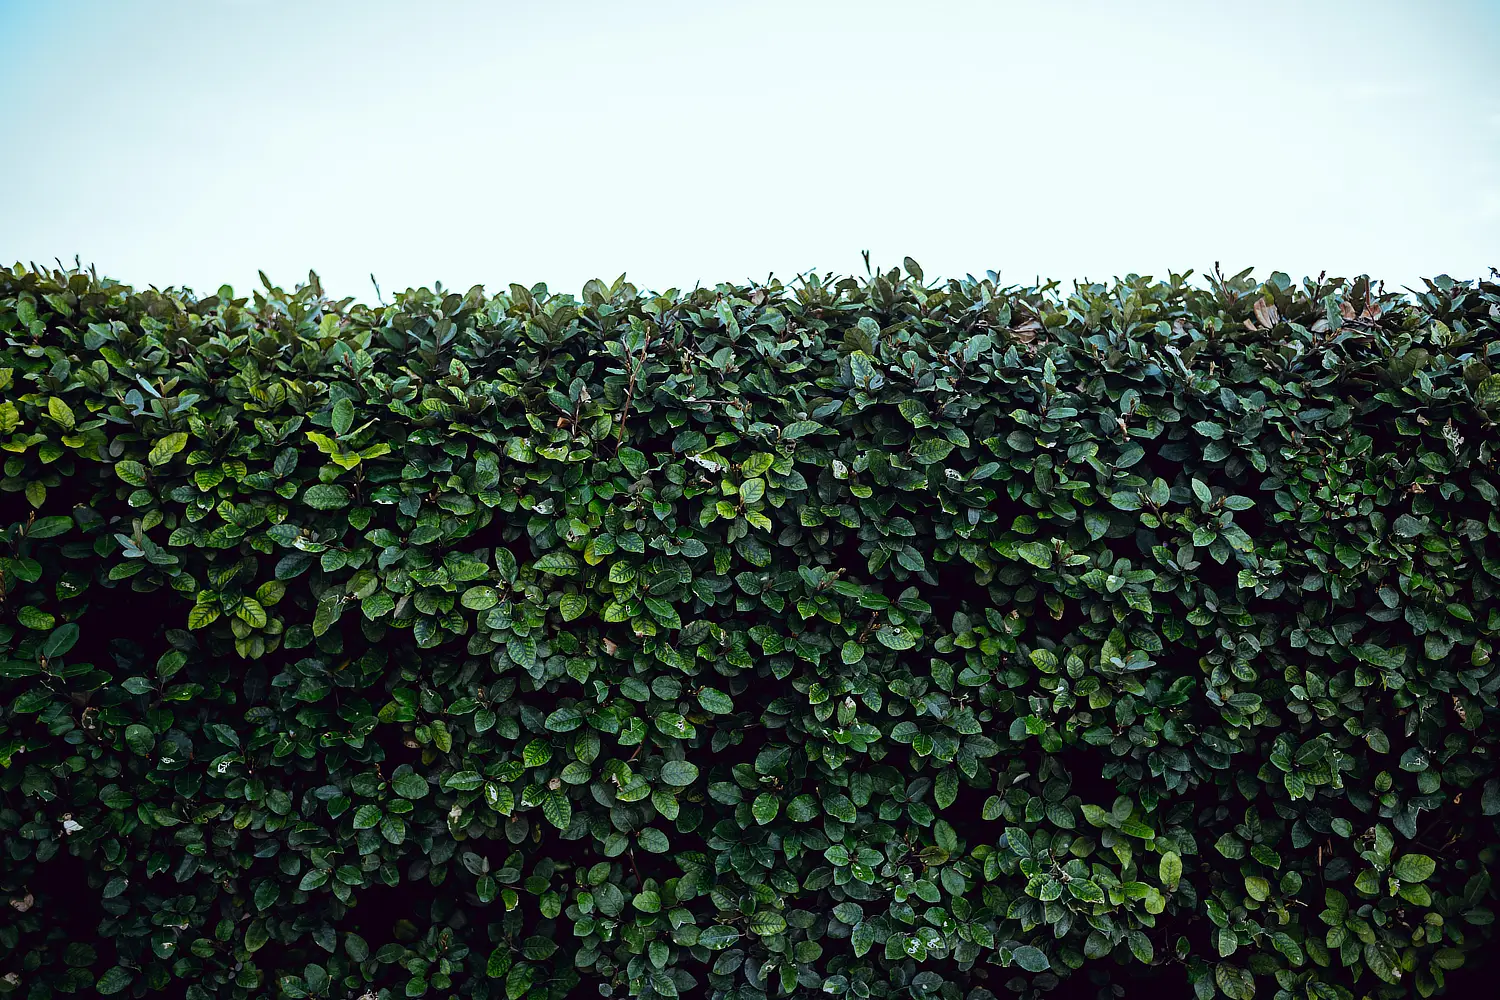
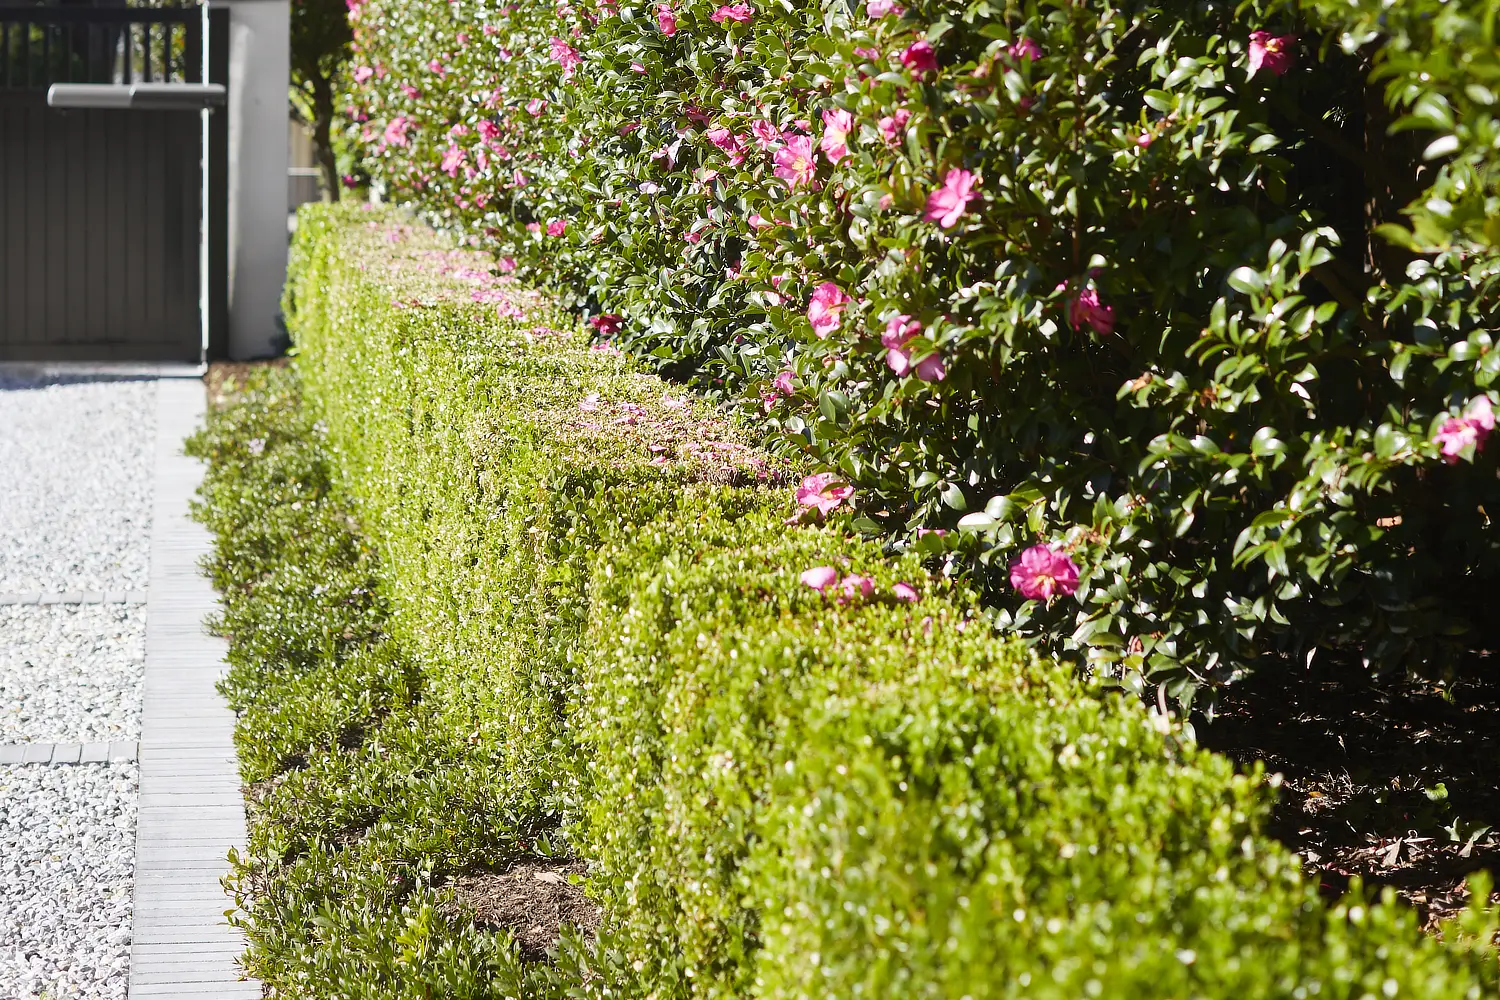
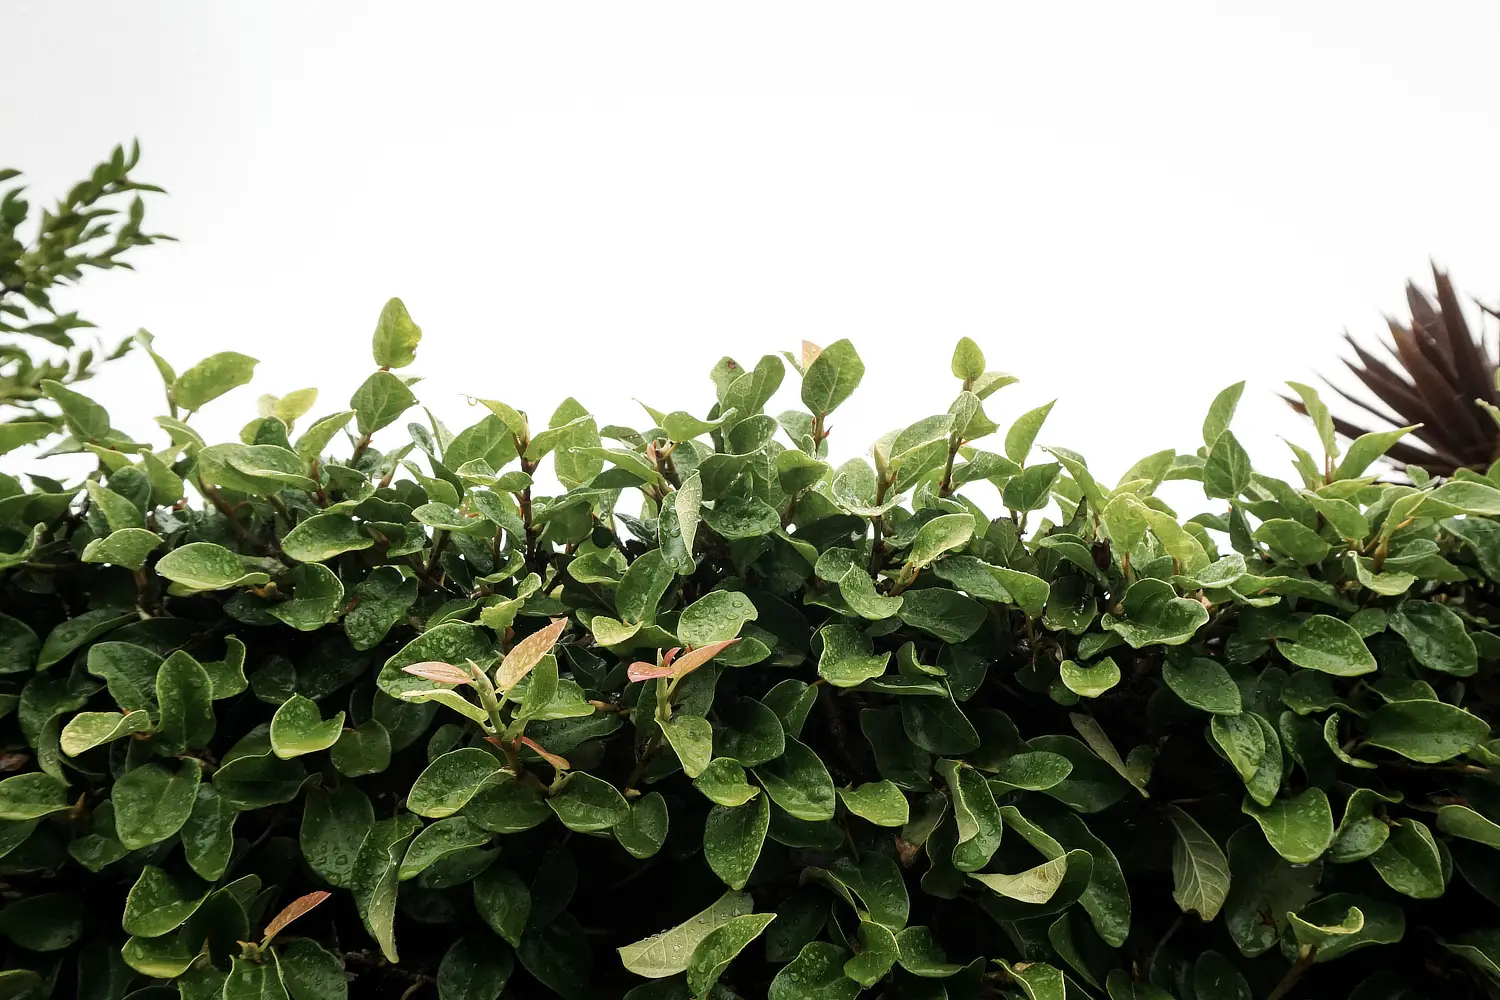
The perfect hedge can do wonders for a garden, hiding unsightly neighbours, covering ugly fences, formalising low garden beds and even creating separate garden rooms. But how do you ensure your hedge performs to give you the Instagram perfect look you are after? In some instances, it’s not as easy as just popping a few plants in the ground and hoping for the best, you need to do it right to make your investment long term and worthwhile.
Picking the right plants for the hedge is the first step. You want something with small dense foliage that knits together to form a solid block of hedging. Research the final height of hedge you are after and pick your plants accordingly. Buxus and Escallonia make great low hedges, Viburnums and Murraya are fail safe medium hedges and Lillipilli and Photinia can be left to get a little larger if needed.
Picking the size of hedging plant is the next question you need to ask yourself and a lot of this will be budget driven. Of course, the larger the plant the more expensive it is and the slower growing that plant is will also increase the price however I find using smaller plants to start with will lead to faster establishing periods and better overall health in the long run. The issue with smaller plants though is if privacy is an important factor in your need for a hedge, then you may be waiting a long time to achieve the look you are after.
Working out how many plants you need will also go hand I hand in selecting the size you buy them in. Spacing between plants of a low hedge will be very different to working out how many you need in a larger hedge. For smaller hedge rows I plant 3 plants per lineal meter, for medium hedges I space my plants at between 600 and 800mm and for larger hedges one every meter or 1200mm. If you are going super advanced plants (lucky you, you’ve made it in life) then you need to space according to the plant stock arriving!
Like everything you plant start by improving your soil. When it comes to installing a hedge, you’re most likely going to put in lots of plants in one long row so dig as wide a trench as you can. This trench needs to be the depth of the plants root ball you will be putting in – no deeper. As wide as possible is great as this will free up the ground around the root ball and allow the new roots of the plants an easy run out to help establish the hedge quickly and effectively. With your trench dug incorporate lots of organic matter into the back fill, I would also add in some granular soil wetter and some blood and bone for an added boost.
Place the plants out, you can measure the distance between if you want but I find just standing back and looking to ensure they appear evenly spaced does the trick. Once you are happy de-pot the plants and back fill with the enriched soil. It’s tempting to stamp around the individual plants to fill in the gaps but take the time to get on your hands and knees and press the soil around with your hands to avoid over compaction.
Top dress with an all-purpose granular fertiliser to help feed them as they get settled in, then apply a layer of mulch 75mm thick to help preserve moisture. Then take the time to really soak the plants and the area you trenched; this will do a few things. Firstly, you’ll hydrate the rootball of each individual plant, then you’ll settle the soil around each plant removing large airgaps you’ll also create a large wet area that will take longer to dry out and provide water when new roots get out to it – all of these will help establish your hedge quicker.
When it comes to pruning your new hedge don’t wait for it to get to the height you are after before pruning it as this will create a leggy hedge that is sparce down low. You want to prune it a couple of weeks after installation to promote new growth low down that will continue as the plant matures and reaches the desired height – remember pruning promotes new growth so the more you can tip prune the denser and thicker your hedge will be.


