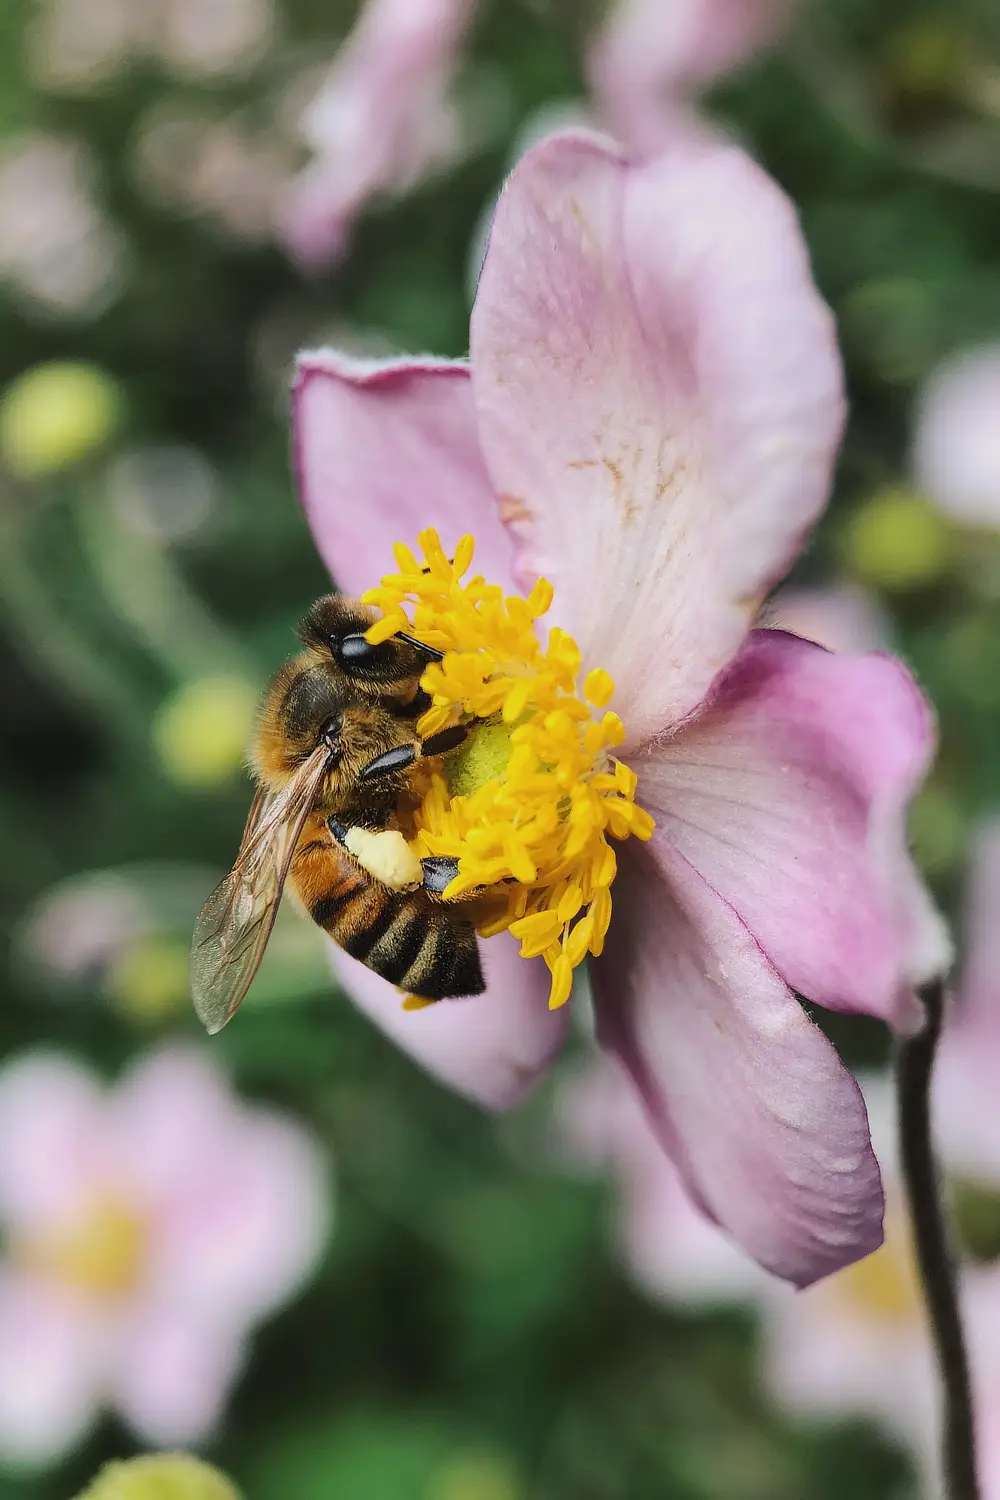
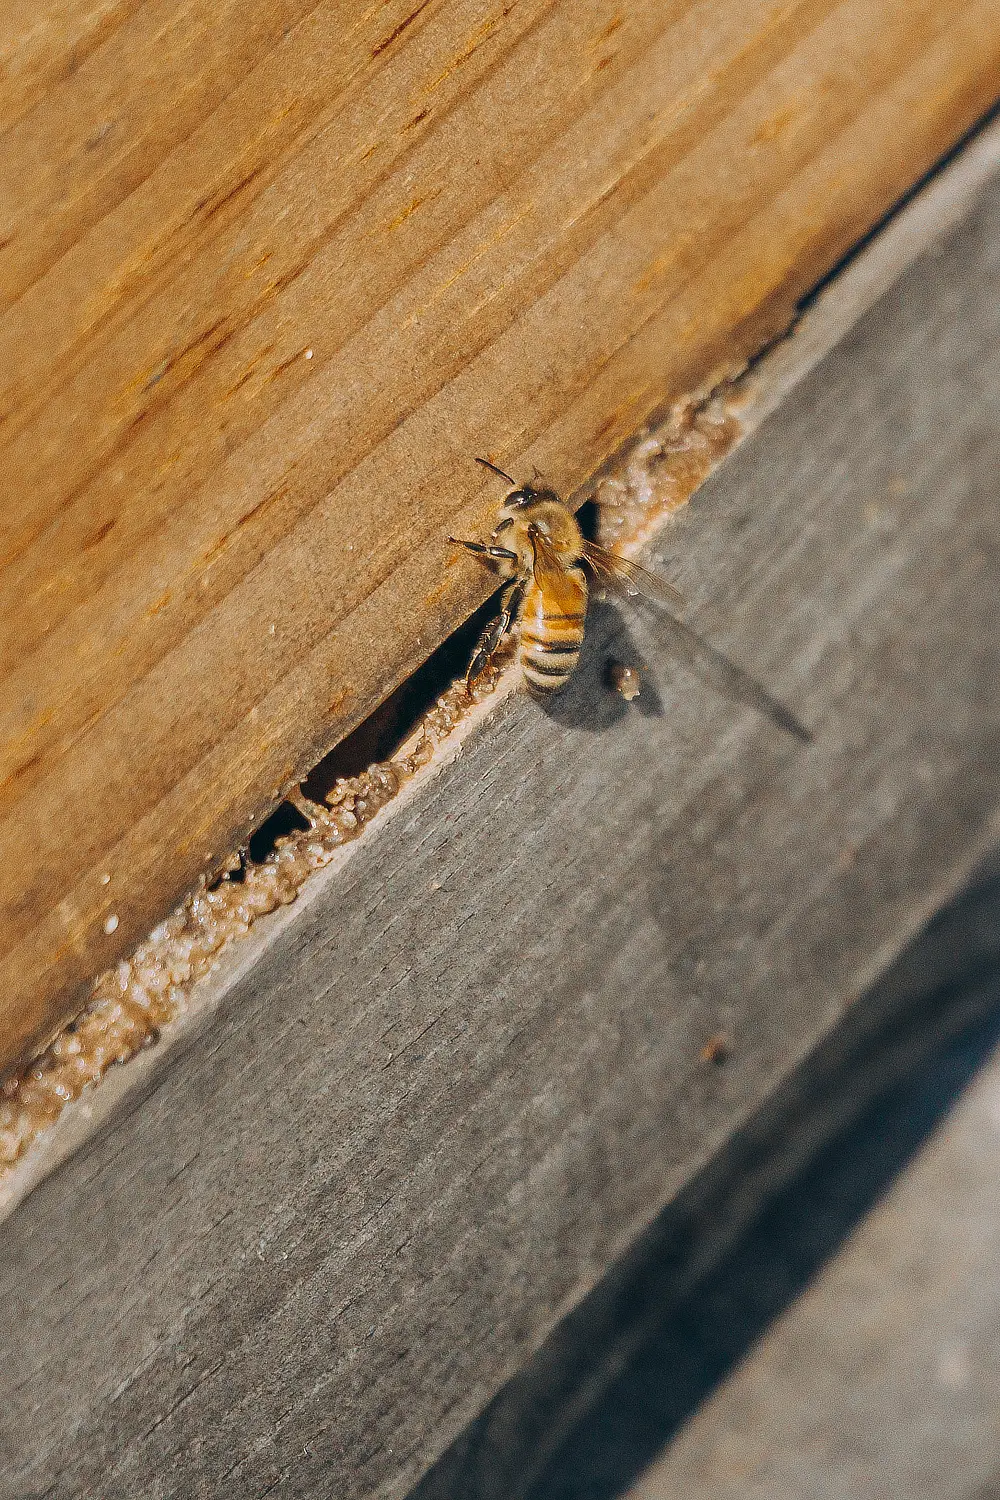
Native bees are a wonderful insect that help pollinate all sorts of plants including your veggie patches In Australia there are over 800 species of native bees and many of them are stingless. Although they are not known for their honey, protection of these little flying friends is important for a healthy eco system.
Helping them out with some food is a great way to bring them in to your garden and can really add a flower filled dimension to your space. I’m a fan of low flowering plants as they can be used around raised veggie patches and in small pockets around the garden to lift the space. Seeding some annuals and select perennials now will give you a summer filled with flowers, native bees and other beneficial insects.
A combination of Alyssum, Reseda, Dwarf Marigolds, Basil and China pink will give you a mix of annuals and then adding in Dwarf Cornflowers, lemon balm and Texas sage as perennials will give you interest and blooms after the short-lived plants have done their thing. You can of course add more meadow flowers in, but this combination is a great starting point that can be used in the smallest of areas.
Seeds are a great way to also fill larger or various different areas and keep the cost down but preparation is the key to the success. Start by removing any weeds, roots and all and try not to drop any weed seeds as you do this. Dropped seeds will only germinate and compete with your bee food. Cultivate the soil to free it up and ensure good drainage and at the same time I would also add compost and blood and bone to help retain moisture and feed your young plants as they grow, mix this through thoroughly.
Its probably a good idea to apply a soil wetter as well and water it in so the soil absorbs water and there is no runoff as seeds like to be kept moist to germinate. Soil that repels water will take lightweight seeds with it and then you’ll get patches of plants that will underperform.
Finish your soil prep off by raking the bed flat and removing the large stones that come to the surface during this process. You need about 3 or 4 grams of seed per square meter that you mix with a carrier such as vermiculite or dry sand as some seeds can be almost microscopic and this helps distribute them more evenly. The carrier also holds onto heat and water where and when it’s needed, next to the seed. Calculating the ratio of seed to carrier depends on the seed you are using but you want the appearance of a fine layer over the entire area once complete – if you are unsure about quantities do a trail run without seeds first.
Spreading your seeds can be done by casting out handfuls in a movement similar to as if you were feeding chickens trying to be as even as possible and get that uniform finish over the area you are working with. Then spread a fine layer of pea or lucerne straw as a fine dusting over the top, this will define the area you have worked in and help to retain a little moisture. Take a flat float (or book if you don’t have one) and press on the surface of the straw, this will ensure the seed has contact with the soil and will prevent the first small roots from drying out. If you are tackling a larger area, use a roller to do this.
Keeping your seeds moist is a must but you don’t want to flood them so use the mist setting on your hose. Keep using this mist setting even after germination has occurred until the seedlings are strong enough to stand up by themselves, then you can flick it over to the shower setting to speed the watering process up.
Whilst your seeds are germinating try to identify them as quickly as possible and remove any overcrowding or weeds that may have remained in the soil as these will only take water and nutrients from your future bloomers. It’s also a good idea to leave a few upturned jam jar lids with water around your low bloomers so the native bees can enjoy a drink whilst feasting on your vibrant new flowers.


